A New Take on Classic Bento Cake: A Sweet Surprise in a Small Package 🍰🎁✨
1. Introduction
The bento cake, also known as a lunch box cake or a Japanese cake, is a delightful miniature dessert perfect for gifting or enjoying as a personal treat. This recipe puts a fresh, new spin on the classic, making it even more accessible and fun to create at home. Whether you’re a seasoned baker looking for a quick project or a novice eager to try your hand at cake decorating, this guide will carefully walk you through each step to bake your own stunning bento cake. From mixing the batter to that final flourish of frosting, we’ve got you covered. With its supremely moist layers and completely customizable decorations, this adorable little Japanese cake is guaranteed to impress! If you’re looking for other baking projects, check out our baking category.
2. What is a Bento Cake, Exactly?
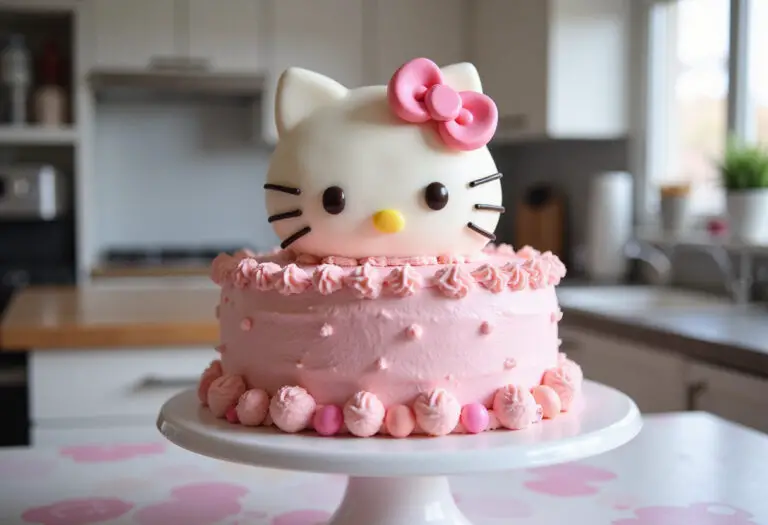
So, what *is* a bento cake, really? A bento cake is essentially a small, often single-serving cake perfectly sized to fit snugly in a bento box or lunch box. Originating from the vibrant culinary scene of South Korea, these miniature cakes quickly gained immense popularity for their undeniably adorable size and the seemingly endless decorating possibilities they offer. Often, bento cake recipes prioritize simple, charming designs and are absolutely perfect for celebrating those smaller, more intimate occasions or simply just to brighten someone’s day with a sweet surprise. The undeniable charm of a lunch box cake lies not only in its inherent portability – making it ideal for picnics or on-the-go treats – but also in the deeply personal touch that you can effortlessly add through bespoke decorations. Express yourself!
3. Why You’ll Absolutely Love This Recipe
This particular bento cake recipe stands out and is just perfect for so many reasons, including:
- It’s unbelievably easy to follow, even for those who are absolute beginner bakers just starting out.
- The resulting cake layers are incredibly moist, tender, and full of delectable flavor.
- The decorating process is an absolute breeze, allowing for maximum creative expression without any stress.
- It’s perfectly sized for a single indulgent serving or a thoughtful, small gift – minimal leftovers!
- All of the necessary ingredients are readily available in most pantries already, saving you a trip to the store!
If you love small desserts, you might also enjoy our desserts category. Want to learn more about us?
4. Ingredients You’ll Need to Gather
- 1 cup all-purpose flour
- 1 teaspoon baking powder
- 1/4 teaspoon salt
- 1/2 cup granulated sugar
- 1/4 cup unsalted butter, softened to room temperature
- 1 large egg
- 1/2 cup milk (any kind works!)
- 1 teaspoon vanilla extract
For the Frosting:
- 1 cup unsalted butter, softened to room temperature
- 3 cups powdered sugar
- 2-3 tablespoons milk
- 1 teaspoon vanilla extract
- Food gel coloring (optional, for customized designs!)
5. Essential Equipment Needed for Success
- 6-inch round cake pan
- Parchment paper (for lining the pan)
- Mixing bowls (various sizes)
- Electric mixer (handheld or stand mixer both work)
- Spatula (for folding and scraping)
- Piping bags and tips (optional, for decorating)
- Bento box or small container for serving and gifting
6. Step-by-Step Instructions: Let’s Bake!
Step 1: Prepare the Cake Batter
First things first, preheat your oven to a precise 350°F (175°C). While it’s heating, grease and flour your 6-inch round cake pan meticulously, then line the bottom with a circle of parchment paper for extra insurance against sticking. In a medium-sized mixing bowl, grab a whisk and thoroughly combine the flour, baking powder, and salt until evenly distributed. In a separate, larger bowl, cream together the softened butter and granulated sugar until the mixture becomes wonderfully light and fluffy – this usually takes a few minutes with an electric mixer. Beat in the egg until fully incorporated, then begin gradually adding the dry ingredients to the wet ingredients, alternating with the milk. Start and end with the dry ingredients to prevent any gluten development. Finally, stir in the vanilla extract until just combined; be careful not to overmix the batter.
Step 2: Bake the Cake to Golden Perfection
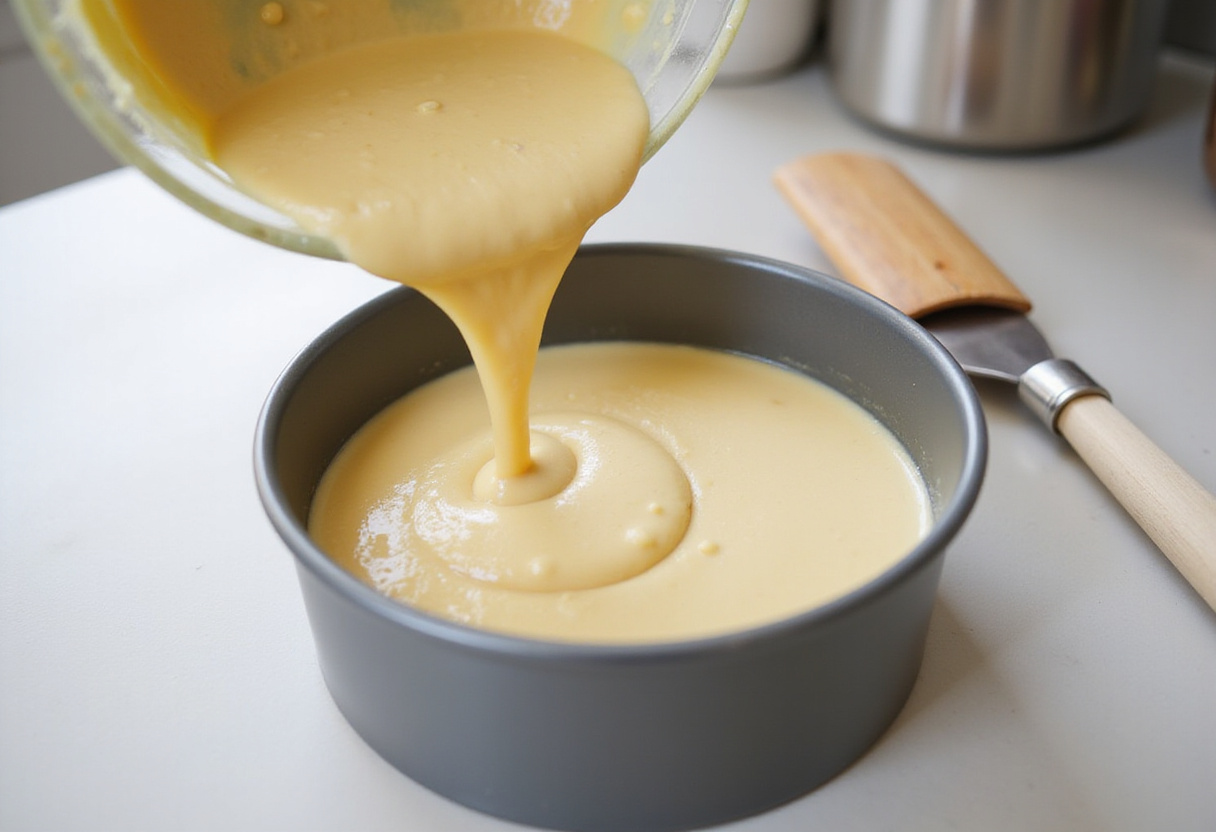
Carefully pour the prepared batter into the prepared cake pan, spreading it evenly with a spatula. Bake in the preheated oven for approximately 25-30 minutes, or until a wooden toothpick inserted directly into the center comes out clean (with just a few moist crumbs clinging to it). Once baked, let the cake cool in the pan for about 10 minutes before inverting it onto a wire rack to cool completely. Once the cake has completely cooled, use a long, serrated knife to carefully level the top of the cake, if needed, creating a flat surface for frosting. Then, using the same knife (or a cake leveler, if you have one), slice the cake horizontally into two even layers, ready for filling. Of course, no cake is complete without frosting! Prepare your luscious buttercream frosting by creaming the softened butter in a large bowl until it’s exceptionally smooth and airy. Gradually add the powdered sugar, alternating with small splashes of milk, until the frosting reaches your desired consistency – it should be smooth, creamy, and easily spreadable. Finally, stir in the vanilla extract for that classic flavor boost.
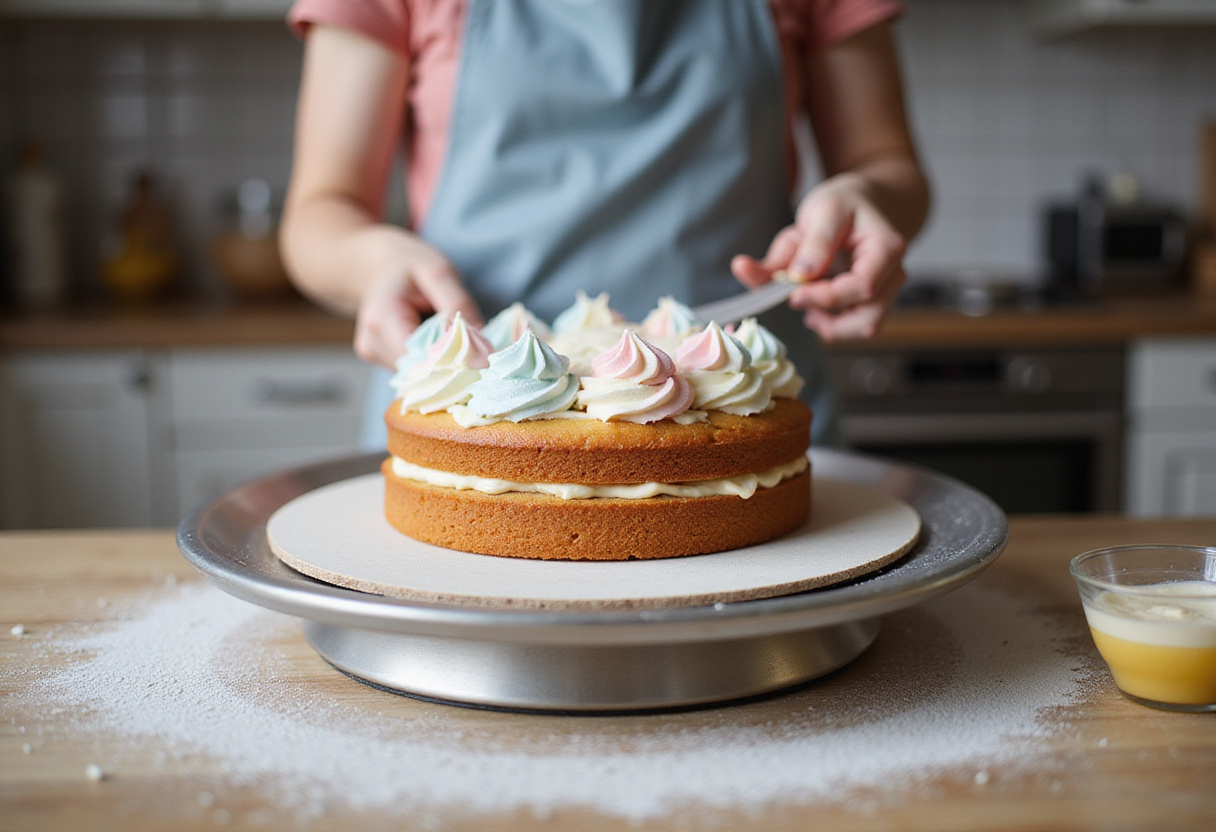
Step 3: Frost and Fill with Love
Now comes the fun part! Place one of the cake layers onto a serving plate or a cardboard cake round. Generously spread a thick, even layer of your prepared buttercream frosting over the top surface. Gently place the second cake layer directly on top of the frosting, creating a sandwich. At this point, frost the entire cake with a thin “crumb coat” of buttercream. This initial layer is designed to trap any loose crumbs and prevent them from contaminating the final layer of frosting. Once crumb-coated, refrigerate the cake for approximately 15-20 minutes to allow the crumb coat to set and firm up. After chilling, apply a final, thicker layer of buttercream over the entire cake, smoothing it out as meticulously as possible using an offset spatula or a bench scraper. If you’re feeling creative, divide any remaining frosting into separate bowls and tint each bowl with a different shade of food gel coloring to create a vibrant palette for decorating.
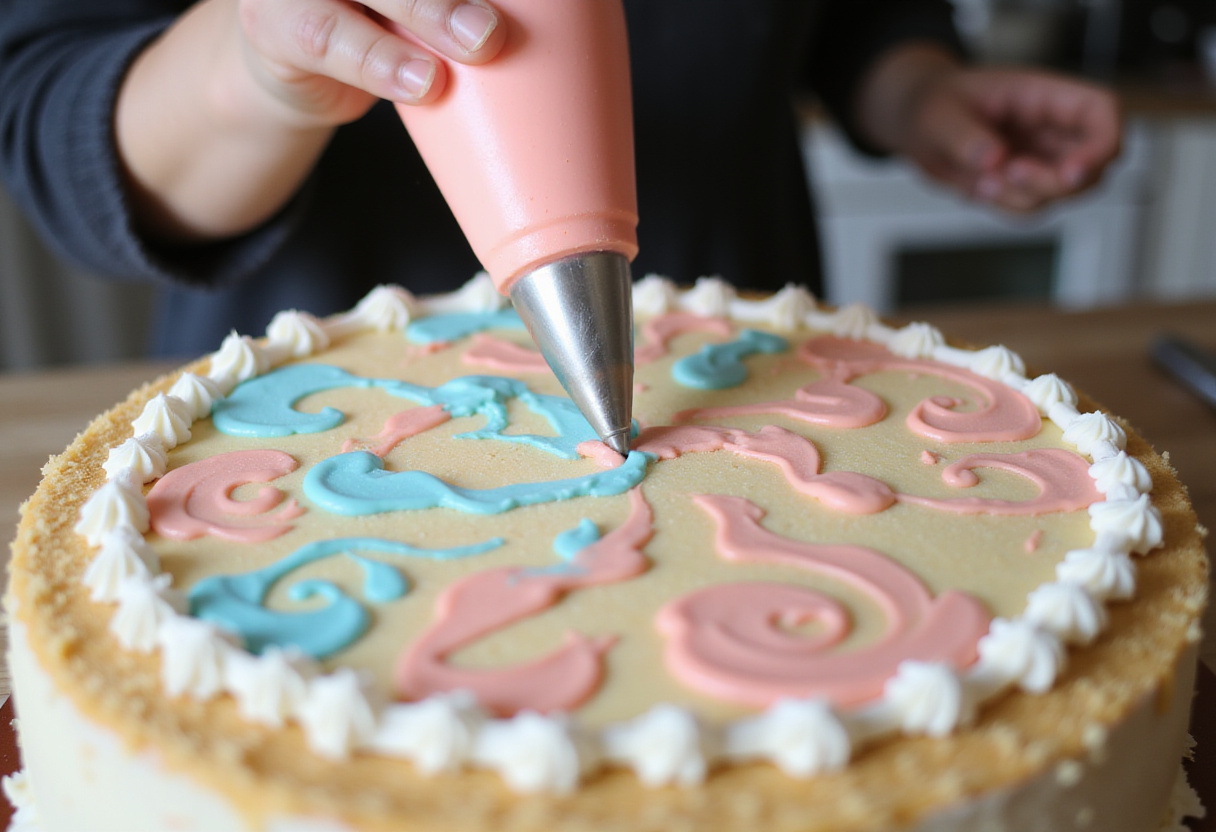
Step 4: Decorate Your Cake with Flair!
Now it’s time to unleash your inner artist! Get incredibly creative and decorate your bento cake with the colored frostings you’ve prepared. Load the colored frostings into piping bags fitted with your desired decorating tips (star tips, round tips, and petal tips all work beautifully). Use various piping techniques to add intricate borders, write personalized messages, or create fun and whimsical designs. Get inspired by tutorials for lunchbox cake decorating. You can also use an assortment of sprinkles, edible pearls, candies, fresh fruit, or even edible glitter to further enhance your cake and give it that extra special touch. Once you’re completely satisfied with your masterpiece, carefully transfer your finished lunch box cake into a bento box or any other small, cute container for easy transport and presentation.

7. Essential Tips and Tricks for Achieving the Perfect Bento Cake
- To ensure even baking and prevent a domed top, consider using a cake strip wrapped around the outside of the cake pan. These strips help to insulate the pan and promote even heat distribution.
- For an extra layer of moistness and flavor, brush the cake layers with a simple syrup (equal parts sugar and water, simmered until dissolved) before you begin frosting.
- If you don’t have piping bags and tips readily available, a simple Ziploc bag with a small corner snipped off can work as a makeshift piping bag in a pinch.
- Before decorating your actual cake, practice your desired piping techniques on a sheet of parchment paper to get a feel for the pressure and movement required.
- Proper storage is key to maintaining freshness. Store any leftover bento cake in an airtight container in the refrigerator for up to 3 days.
8. Variations and Creative Alternatives to Try
- Don’t be afraid to experiment with different cake flavors to find your perfect combination! Try chocolate, classic vanilla, or a fruity strawberry cake as a base.
- Incorporate flavorful fillings between the cake layers to add an extra dimension of taste and texture. Consider using fruit preserves, chocolate ganache, or even a layer of creamy pastry cream.
- Explore different types of frosting beyond classic buttercream. Cream cheese frosting, chocolate buttercream, or even a stabilized whipped cream can all be delicious options.
- Add a deeply personal touch by customizing the decorations to perfectly suit the recipient’s favorite colors, characters, or themes.
- For easier portioning and serving, consider making a batch of mini cupcakes instead of a single bento cake. The baking time will need to be adjusted, so keep a close eye on them!
9. Conclusion
Creating a bento cake is genuinely a fun and rewarding experience that allows you to express your creativity without limits, and share a sweet, personalized treat with someone special in your life. This comprehensive bento cake recipe offers a contemporary and updated twist on the classic Japanese cake concept, ensuring a moist, incredibly delicious, and visually appealing dessert that is sure to bring a smile to anyone’s face. So, what are you waiting for? Gather all of your necessary ingredients, unleash your inner artist, and thoroughly enjoy the process of making your very own delightful lunch box cake for you or for a loved one! While you’re at it, check out some breakfast brunch recipes, dinner recipes, salad recipes, soup recipes or maybe some chicken recipes, and if you’d like to work with me you can click here!
Print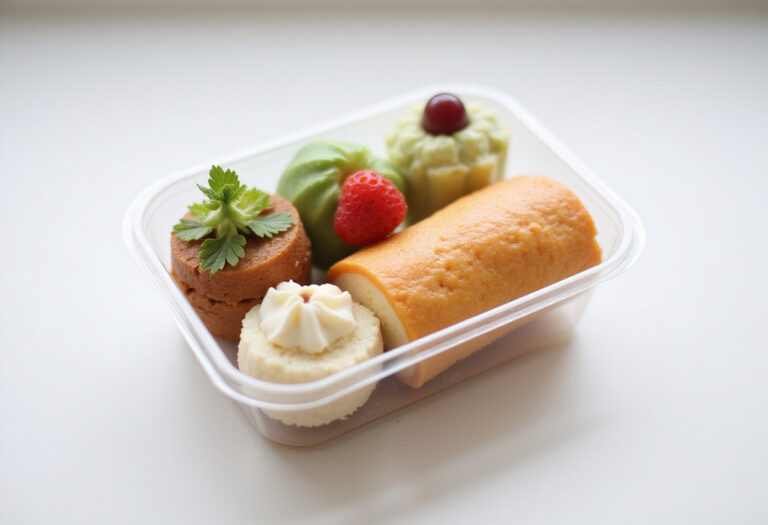
A New Take on Classic Bento Cake
A delightful miniature bento cake recipe perfect for gifting or enjoying as a personal treat. This recipe provides moist cake layers and customizable decorations, making it a fun and accessible project for bakers of all levels. Enjoy this sweet take on a classic Japanese cake!
- Total Time: 50 minutes
- Yield: 1 single-serving cake 1x
Ingredients
- 1 cup all-purpose flour
- 1 teaspoon baking powder
- 1/4 teaspoon salt
- 1/2 cup granulated sugar
- 1/4 cup unsalted butter, softened
- 1 large egg
- 1/2 cup milk
- 1 teaspoon vanilla extract
For the Frosting:
- 1 cup unsalted butter, softened
- 3 cups powdered sugar
- 2–3 tablespoons milk
- 1 teaspoon vanilla extract
- Food gel coloring (optional)
Instructions
- Step 1: Prepare the Cake Batter: Preheat oven to 350°F (175°C). Grease and flour a 6-inch round cake pan, line with parchment paper. Whisk together flour, baking powder, and salt. Cream butter and sugar until fluffy, beat in egg, then gradually add the dry ingredients, alternating with milk. Stir in vanilla. Pour into the pan.
- Step 2: Bake the Cake: Bake for 25-30 minutes, or until a toothpick comes out clean. Cool in the pan for 10 minutes, then transfer to a wire rack. Level the top if needed. Slice horizontally into two layers. Prepare buttercream frosting by creaming butter, adding powdered sugar and milk until desired consistency, then stir in vanilla.
- Step 3: Frost and Fill: Place one cake layer on a plate. Spread a layer of buttercream. Place the second layer on top. Frost a thin crumb coat and refrigerate for 15-20 minutes. Apply a final layer of buttercream, smoothing it. Divide remaining frosting into bowls and tint with food coloring, if desired. Load frostings into piping bags.
- Step 4: Decorate Your Cake: Decorate the bento cake with colored frostings using piping techniques to add borders, messages, or designs. Use sprinkles, edible pearls, candies, or fresh fruit. Transfer the cake into a bento box or small container.
Notes
- Use a cake strip around the pan for even baking.
- Brush layers with simple syrup for extra moisture.
- Use a Ziploc bag with a corner snipped off if you don’t have piping bags.
- Practice piping on parchment paper before decorating.
- Store leftover cake in an airtight container in the refrigerator for up to 3 days.
- Prep Time: 20 minutes
- Cook Time: 30 minutes
- Category: Dessert
- Method: Baking
- Cuisine: Japanese-inspired
- Diet: Vegetarian
Nutrition
- Serving Size: 1 cake
- Calories: 850 Kcal
- Sugar: 80g
- Sodium: 250mg
- Fat: 45g
- Saturated Fat: 28g
- Unsaturated Fat: 15g
- Trans Fat: 1g
- Carbohydrates: 110g
- Fiber: 2g
- Protein: 8g
- Cholesterol: 150mg