Barbie Cake: A Dreamy Pink Delight for Every Princess 🎂💖👸
1. Introduction
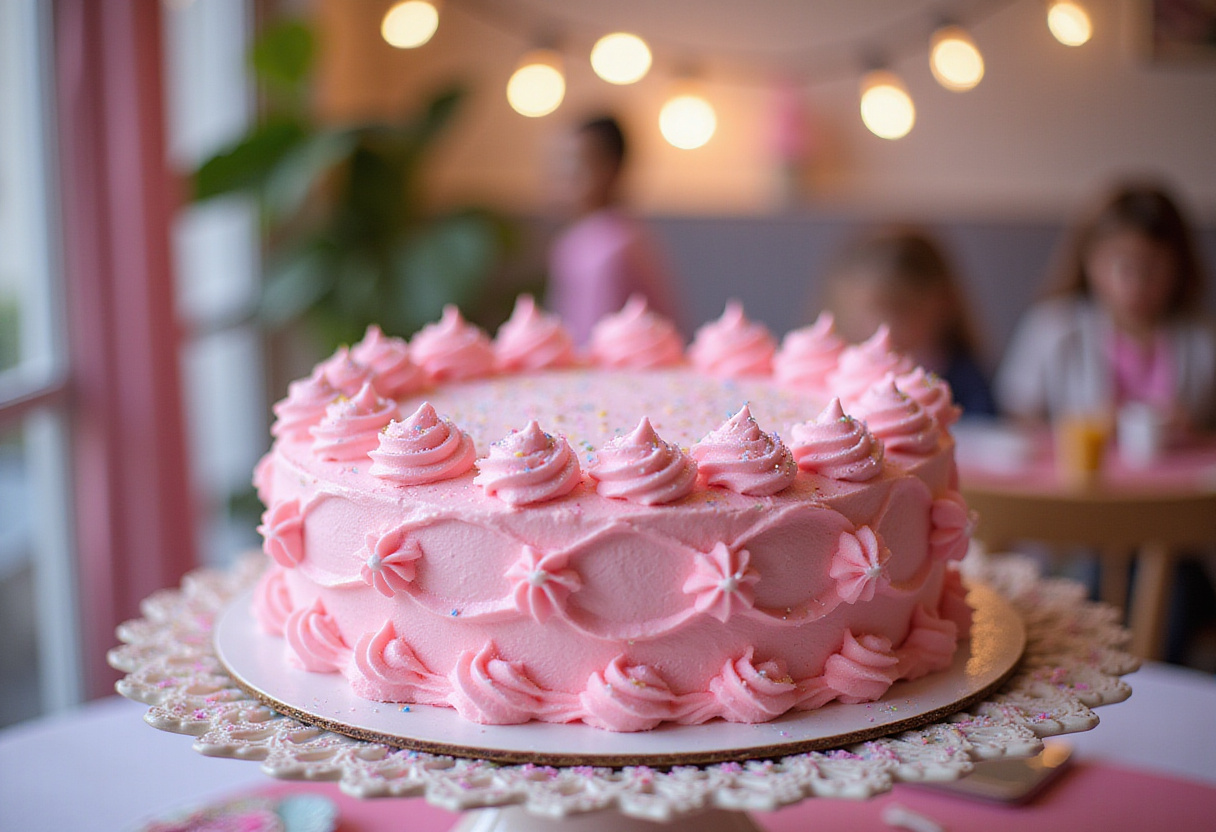
The Barbie cake is more than just a dessert; it’s a centerpiece that brings the magic of Barbie to life! Perfect for birthday parties, themed events, or any occasion that calls for a touch of princess flair, this delightful creation is sure to impress. If you’re looking for more than just a cake, check out our other delightful dessert options. Whether you’re searching for a stunning Barbie doll cake or a simple yet elegant princess cake recipe, this guide will walk you through creating a memorable and delicious treat. A well-executed Barbie cake stands out, and we are here to ensure yours does. Get ready to unleash your inner baker and create a show-stopping Barbie cake that will be the highlight of any celebration.

In this article, we’ll provide you with a step-by-step doll cake tutorial that even beginner bakers can follow. From baking the perfect cake layers to assembling and decorating your Barbie doll cake, you’ll find all the tips and tricks you need to succeed. Ready to explore other baking adventures? Head over to our baking section for more inspiration. Let’s dive into making a Barbie cake that’s as beautiful as it is tasty!
Perhaps you are seeking some other recipes? Why not check out our homepage!
2. What You’ll Need
To embark on this delightful baking project, gather the following essentials. Having everything prepared in advance not only streamlines the process but also prevents any mid-bake scrambling, ensuring a smooth and enjoyable experience crafting your Barbie cake.
- Cake Mix (Vanilla or your preferred flavor)
- Ingredients for Cake Mix (Eggs, Oil, Water)
- Buttercream Frosting (Store-bought or homemade)
- Pink Food Coloring
- Sprinkles and Edible Glitter
- Barbie Doll (Clean and wrapped from the waist down)
- Round Cake Pans (Various sizes)
- Serrated Knife
- Turntable (Optional, but helpful for frosting)
- Piping Bags and Tips
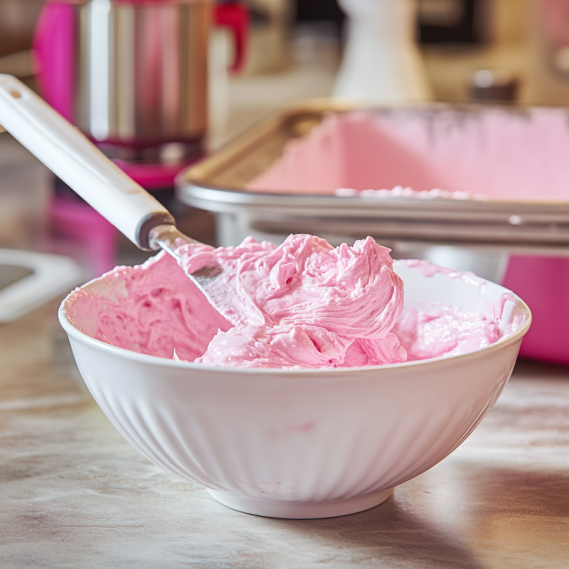
3. Preparing the Cake Batter
First, prepare your cake batter according to the instructions on the box. For a vibrant Barbie cake, consider adding a few drops of pink food coloring to the batter to achieve a lovely pink hue. This step is crucial for creating that signature princess cake recipe look. For an extra touch of flavor, consider a hint of vanilla extract! Ensure the batter is well mixed and smooth before moving on to the next step. A smooth batter translates directly to a smooth, even bake, essential for the overall aesthetic of your Barbie cake.
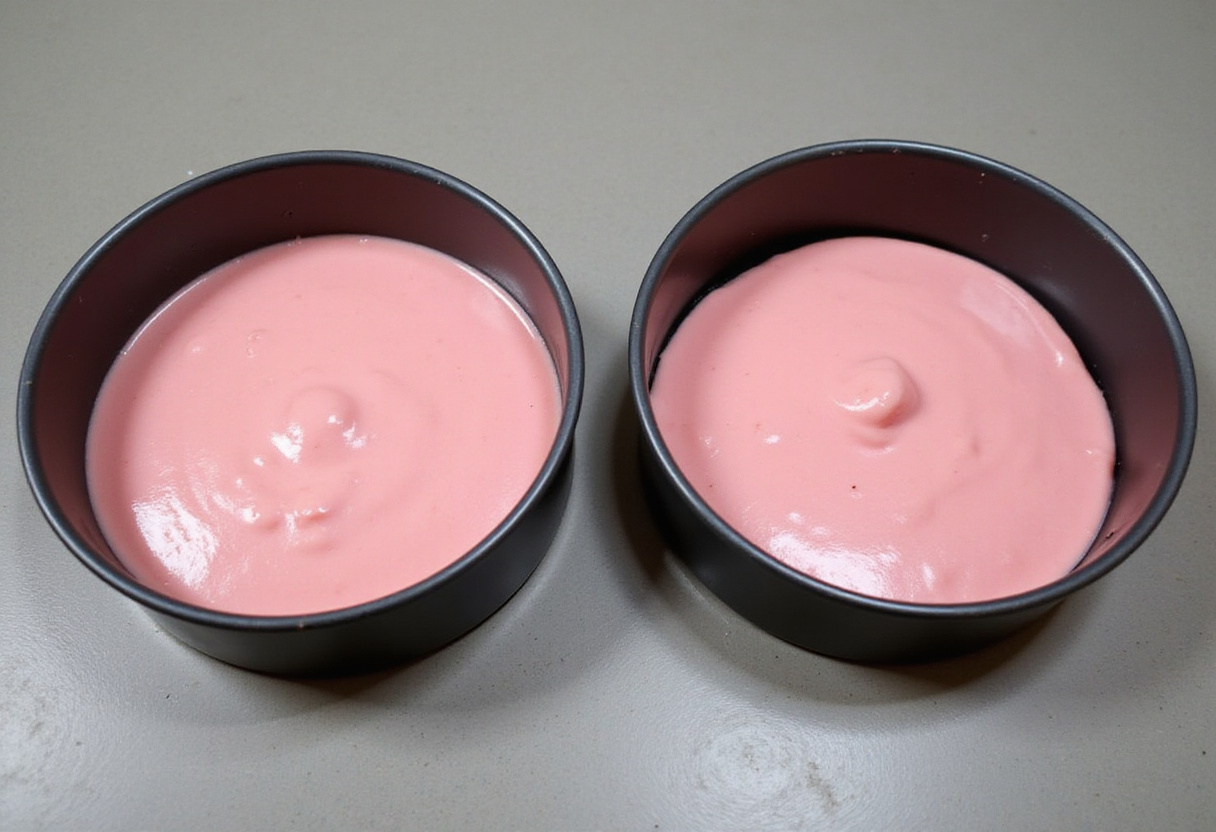
4. Baking the Cake Layers
Divide the batter evenly among your round cake pans. You can use different-sized pans to create a tiered effect for your Barbie doll cake. Bake the layers according to the cake mix instructions, usually around 30-35 minutes at 350°F (175°C). A toothpick inserted into the center should come out clean when the layers are done. This is essential for a perfect Barbie cake recipe. Let the cake cool completely before assembling. If you’re interested in breakfast recipes, check out our breakfast and brunch recipes.
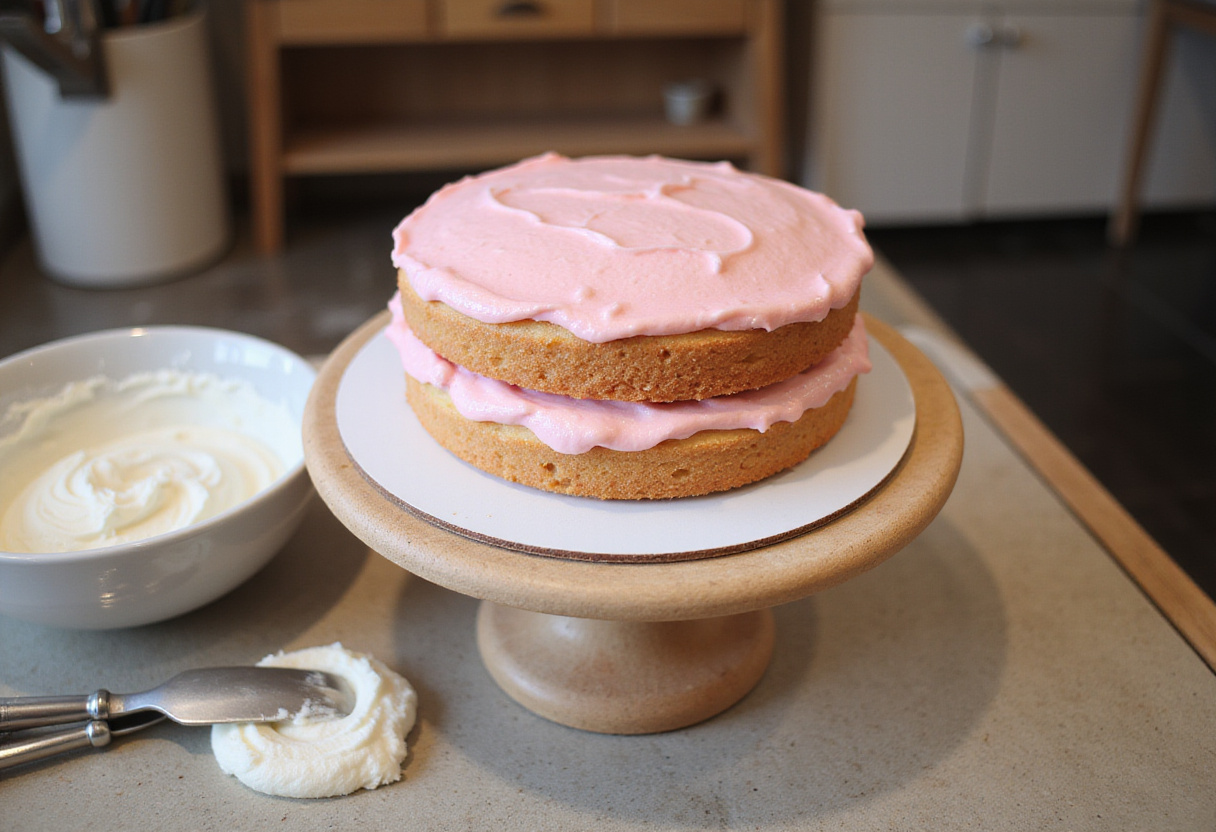
5. Assembling the Barbie Cake
Step 1: Baking the Cake
Once the cake layers are cooled, level them using a serrated knife to create a flat surface. This will make stacking and frosting much easier. This step is essential for a professional-looking Barbie cake. Next, make a hole in the center of each cake layer to accommodate the Barbie doll. Ensure the hole is wide enough for the doll with some wiggle room. Want to know more about us?
6. Frosting the Cake
Step 2: Prepare the Pans
Place a small amount of frosting on your cake stand to secure the first layer. Stack the cake layers, using frosting between each layer. Make sure the layers are aligned, creating a stable base for your Barbie doll cake. This ensures your princess cake recipe is structurally sound. Feel free to experiment with different filling flavors like raspberry jam or lemon curd between the layers for an extra layer of deliciousness. Ensure your Barbie cake will be the talk of the town; see what others are saying.
Next, insert the Barbie doll into the center hole, ensuring she stands securely. Apply a crumb coat of frosting to the entire cake to seal in any loose crumbs. Refrigerate for about 20-30 minutes to allow the crumb coat to set. This step is important for a polished Barbie cake. If you’re looking for a job, maybe you can work with me!.
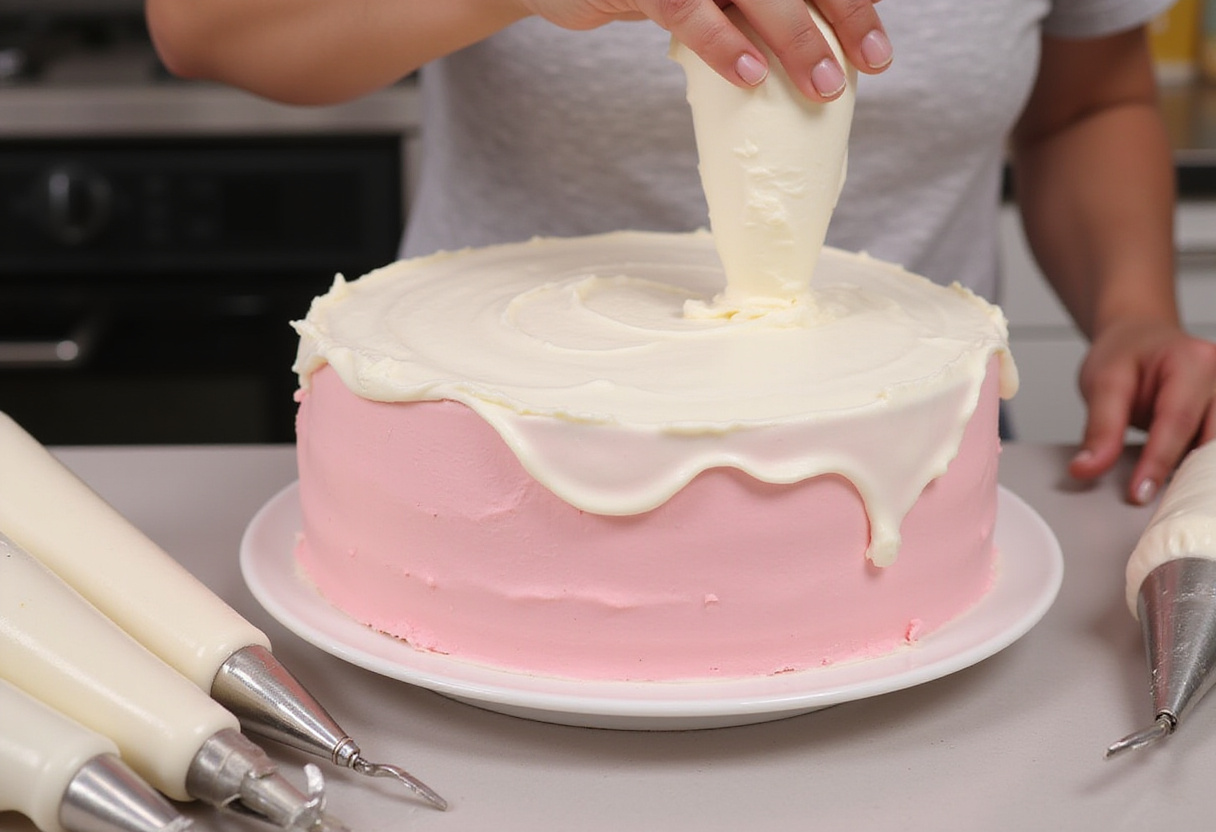
7. Decorating the Barbie Cake
Step 3: Layer the cakes
Once the crumb coat is set, apply a final layer of frosting. Use a piping bag and tip to create decorative swirls or rosettes around the “dress” of the Barbie doll cake. Get creative with your design – think ruffles, flowers, or any pattern that suits your theme. This is where your doll cake tutorial truly comes to life. Consider watching some online tutorials for more piping inspiration. The possibilities are endless when it comes to decorating your Barbie cake. If you like chicken as much as you like dessert, come and check our chicken recipes!
Add sprinkles and edible glitter to enhance the magical effect of your Barbie cake. Consider using various shades of pink and other complementary colors to make your creation pop. This will make your Barbie cake recipe a visual masterpiece. Elevate your Barbie cake further with delicate sugar pearls or hand-painted details. If you want something else, check out our salads recipes! It will give you good ideas.
8. Final Touches
Step 4: Frost the cake
Inspect your Barbie doll cake for any imperfections and make final adjustments. Clean up any stray frosting or sprinkles to ensure a neat and professional presentation. If desired, add additional decorations like fondant flowers or edible pearls. Consider creating a small fondant tiara for Barbie to wear! This attention to detail will elevate your princess cake recipe.
9. Conclusion
Creating a Barbie cake is a fun and rewarding experience that brings joy to any celebration. By following this doll cake tutorial, you can create a stunning centerpiece that’s both beautiful and delicious. Whether you’re making a Barbie doll cake for a birthday or simply to add a touch of magic to your day, this princess cake recipe is sure to be a hit. Enjoy baking and decorating your very own Barbie cake! And if you have some soup cravings, check out our soups section!
Print
barbie cake
- Total Time: 1 hour 5 minutes
- Yield: 12 servings
- Diet: Vegetarian
Description
Create a stunning Barbie Cake with this easy-to-follow recipe! Perfect for birthdays and princess-themed parties. Learn how to bake, assemble, and decorate a beautiful Barbie doll cake that will be the centerpiece of any celebration.
Ingredients
- Cake Mix (Vanilla or your preferred flavor)
- Ingredients for Cake Mix (Eggs, Oil, Water)
- Buttercream Frosting (Store-bought or homemade)
- Pink Food Coloring
- Sprinkles and Edible Glitter
- Barbie Doll (Clean and wrapped from the waist down)
- Round Cake Pans (Various sizes)
- Serrated Knife
- Turntable (Optional, but helpful for frosting)
- Piping Bags and Tips
Instructions
- Prepare your cake batter according to the instructions on the box. Add pink food coloring for a vibrant hue.
- Divide the batter evenly among round cake pans of various sizes. Bake at 350°F (175°C) for 30-35 minutes, or until a toothpick comes out clean.
- Cool the cake layers completely, then level them with a serrated knife. Cut a hole in the center of each layer to accommodate the Barbie doll.
- Place a small amount of frosting on your cake stand to secure the first layer. Stack the cake layers, using frosting between each layer for stability.
- Insert the Barbie doll into the center hole. Apply a crumb coat of frosting to the entire cake and refrigerate for 20-30 minutes.
- Apply a final layer of frosting. Use a piping bag and tip to create decorative swirls or rosettes around the ‘dress’ of the Barbie doll cake.
- Add sprinkles and edible glitter to enhance the magical effect.
- Inspect your Barbie doll cake for any imperfections and make final adjustments. Clean up any stray frosting for a professional presentation.
Notes
- Make sure to wrap the Barbie doll from the waist down with plastic wrap before inserting into the cake.
- Use different shades of pink to make the cake more visually appealing.
- A turntable is helpful for frosting, but not required.
- Feel free to add other decorations like fondant flowers or edible pearls.
- Prep Time: 30 minutes
- Cook Time: 35 minutes
- Category: Dessert
- Method: Baking
- Cuisine: American
Nutrition
- Serving Size: 1 slice
- Calories: 350 Kcal
- Sugar: 40g
- Sodium: 250mg
- Fat: 15g
- Saturated Fat: 8g
- Unsaturated Fat: 6g
- Trans Fat: 0.5g
- Carbohydrates: 50g
- Fiber: 1g
- Protein: 3g
- Cholesterol: 50mg
Keywords: Barbie cake, doll cake, princess cake recipe, birthday cake, Barbie doll cake, cake decorating, themed cake, pink cake, cake tutorial