My Go-To Bread Machine Recipe Book: Effortless Homemade Bread 🍞📖✨
1. Introduction
There’s nothing quite like the comforting aroma of freshly baked bread filling your home. It’s an experience that evokes feelings of warmth and nourishment. With a bread machine, transforming your kitchen into a personal bakery and achieving this comforting experience has never been easier. This article dives into my go-to recipe book for amazing bread machine recipes, perfect for bakers of all skill levels – beginners and seasoned pros alike. Whether you’re on the hunt for easy bread machine recipes with minimal ingredients or feel ready to start exploring the wider world of homemade bread machine recipes, this guide is designed to help you create consistently delicious loaves with minimal effort. Let’s unlock the secrets to the best bread machine recipes and transform your kitchen into a bakery, one perfectly baked loaf at a time!
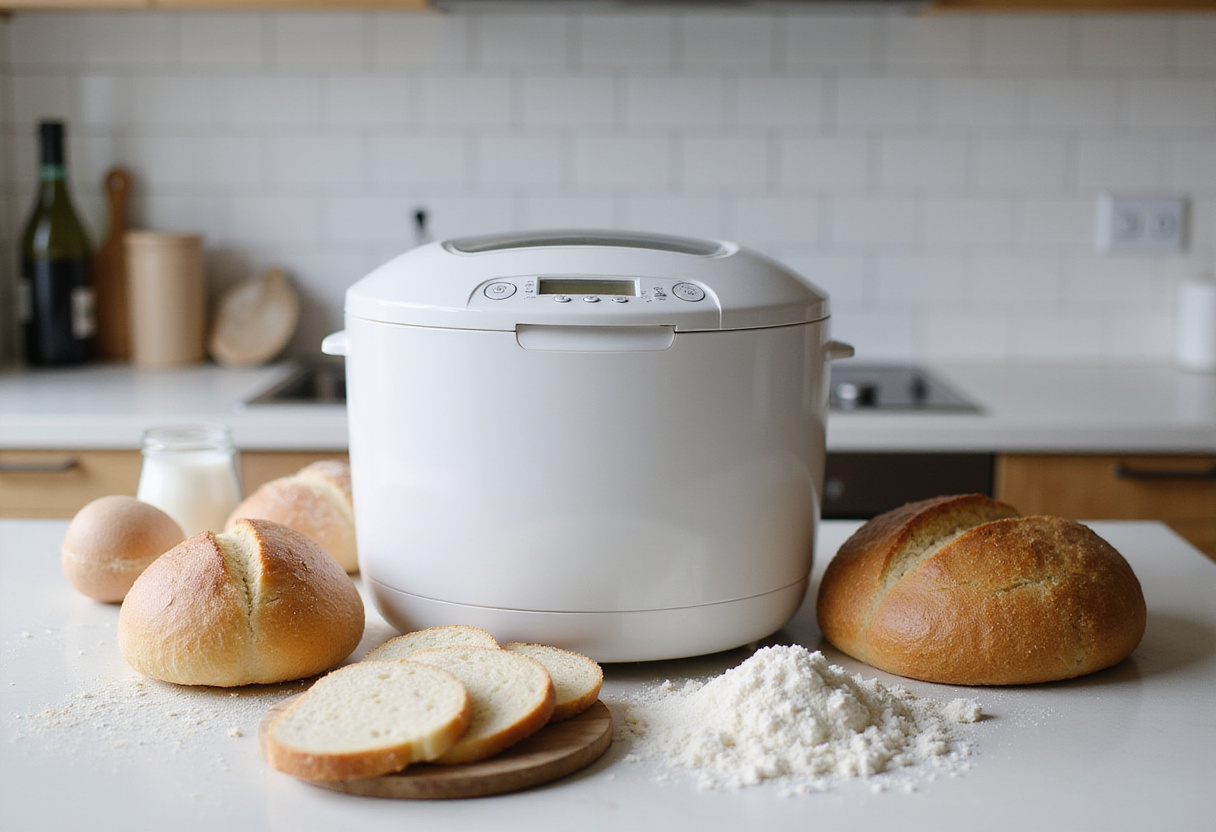
2. Why Use a Bread Machine?
Bread machines simplify the baking process by automating the often-time-consuming tasks of kneading, rising (proofing), and baking. They are an ideal solution for busy individuals and families who crave the deliciousness of homemade bread machine recipes without committing to the hands-on time and effort required for traditional baking methods. Think about it – waking up to the smell of freshly baked bread without having spent hours in the kitchen! Beyond convenience, a bread machine ensures more consistent results compared to manual baking. This means that even novice bakers can reliably enjoy easy bread machine recipes on a regular basis. Plus, the built-in container minimizes mess and simplifies cleanup! With the right ingredients, a dependable machine, a little patience and perhaps browsing through other great recipes over at our baking section, found here, you can consistently achieve bakery-quality bread right in the comfort of your own kitchen.
3. Essential Ingredients for Bread Machine Recipes
To consistently bake the best bread machine recipes, you’ll need to have a few key ingredients on hand and understand their roles in the process. Using high-quality ingredients will significantly impact the taste and texture of your bread:
- Flour: Bread flour is generally preferred over all-purpose flour for bread machine baking due to its higher gluten content. Gluten is a protein that forms the structure of the bread, resulting in a chewier, more substantial texture. However, all-purpose flour can be successfully used, especially if you’re aiming for a softer loaf.
- Yeast: Instant yeast, also sometimes labeled as bread machine yeast, is the most commonly recommended type of yeast for bread machines because it can be added directly to the dry ingredients without needing to be proofed first. Ensure your yeast is fresh for optimal leavening power – check the expiration date!
- Water: The temperature of the water is important for activating the yeast. Lukewarm water, typically between 105-115°F (40-46°C), is ideal. Too hot, and you risk killing the yeast; too cold, and it might not activate properly.
- Sugar: Sugar provides food for the yeast, which helps it to produce carbon dioxide and leaven the bread. It also contributes to the overall flavor and helps to create a more tender crumb. You can also experiment with other options, and if you’re browsing around, you can check our desserts category.
- Salt: Salt plays a crucial role in controlling the yeast activity, preventing it from rising too quickly, and also enhances the flavor of the bread. Don’t skip the salt!
- Fat (Oil/Butter): Adding a small amount of fat, such as oil or melted butter, adds richness and softness to the bread, resulting in a more tender crumb and a more appealing texture.
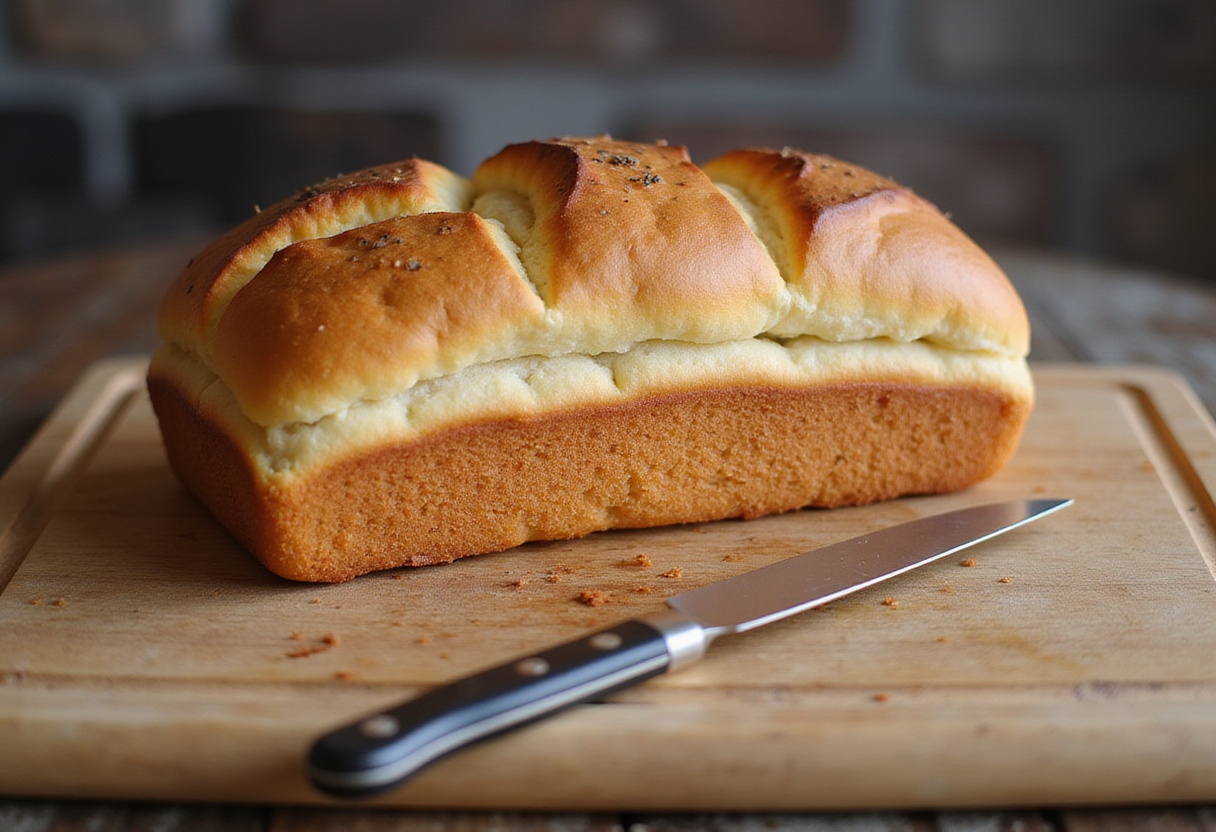
4. My Go-To Bread Machine Recipe: Classic White Bread
This classic white bread recipe is an absolute staple in my personal collection of bread machine recipes. It’s a reliable recipe that consistently delivers a perfect loaf every single time I bake it. It’s undoubtedly one of the easy bread machine recipes that I find myself relying on most often due to its simplicity and consistently delicious results. Before we continue, if you’re planning a full meal around your fresh bread, you might also like to try some soups or salads.
5. Step-by-Step Guide to Baking Classic White Bread
Step 1: Prepare the Bread Machine
Before you begin, ensure that your bread machine is thoroughly clean, both inside and out. Double-check that the kneading paddle is properly and securely installed in the baking pan. This ensures that your homemade bread machine recipes turn out perfectly, preventing any mishaps during the kneading process.
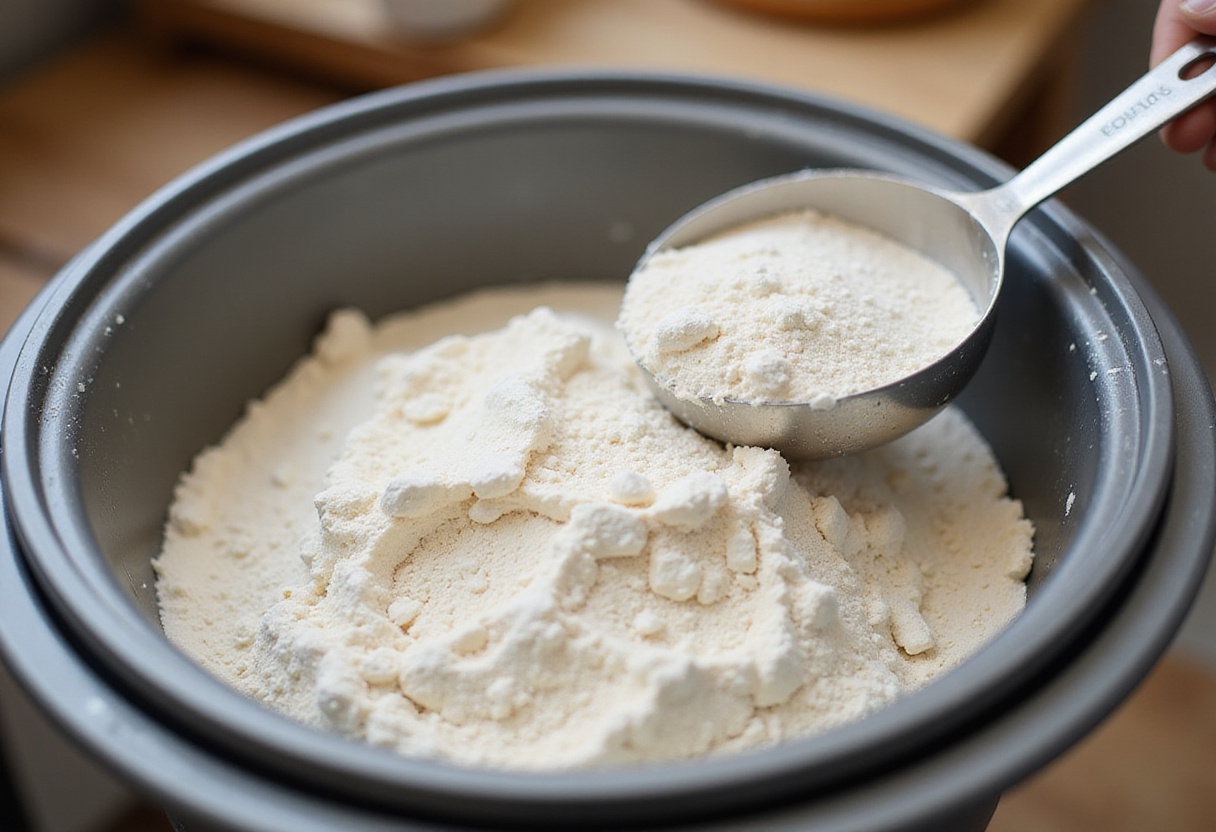
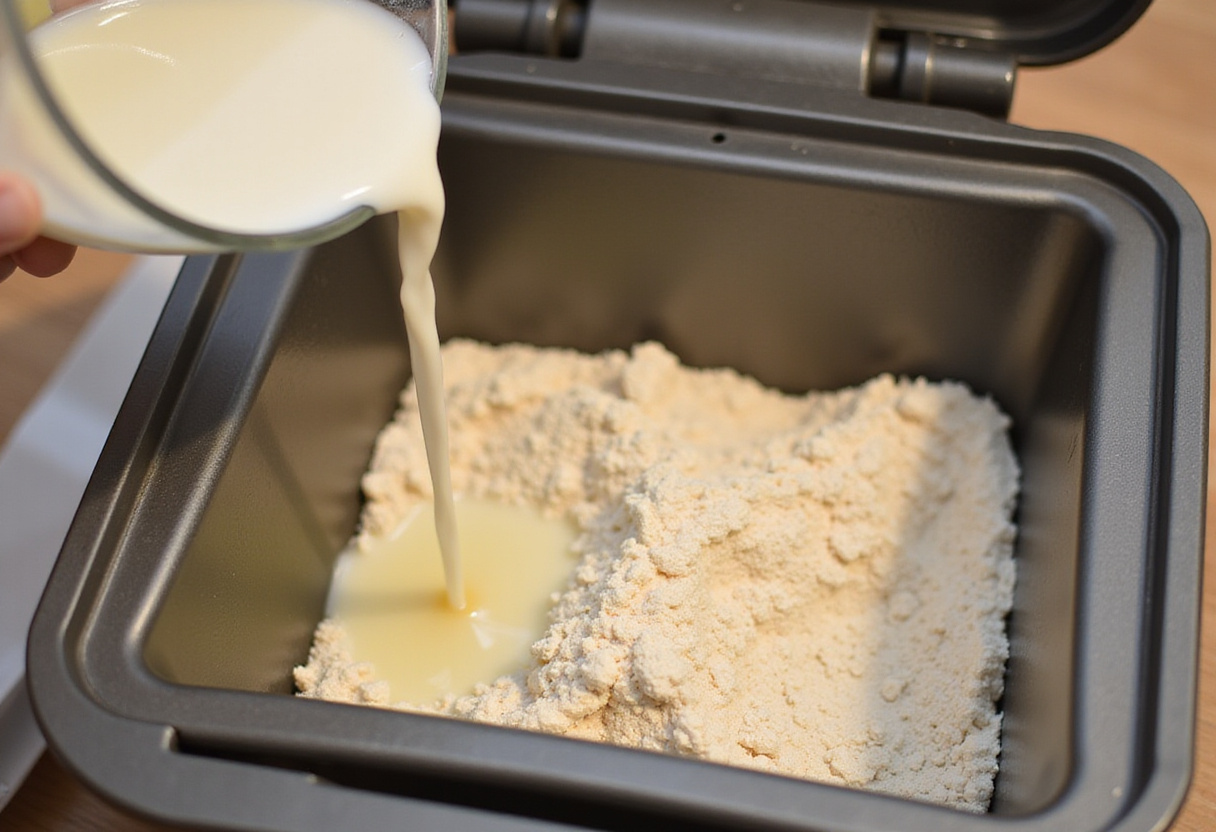
Step 2: Measure and Add Ingredients
Carefully measure all of your ingredients using accurate measuring cups and spoons. Add the ingredients to the bread machine pan in the order recommended by your bread machine manufacturer. A common order is as follows: water, oil, salt, sugar, flour, and then yeast on top of the flour, away from the wet ingredients. This order helps prevent the yeast from activating too early, which can affect the final product. Precise measurement is absolutely essential for achieving the best bread machine recipes, so take your time and double-check your measurements.
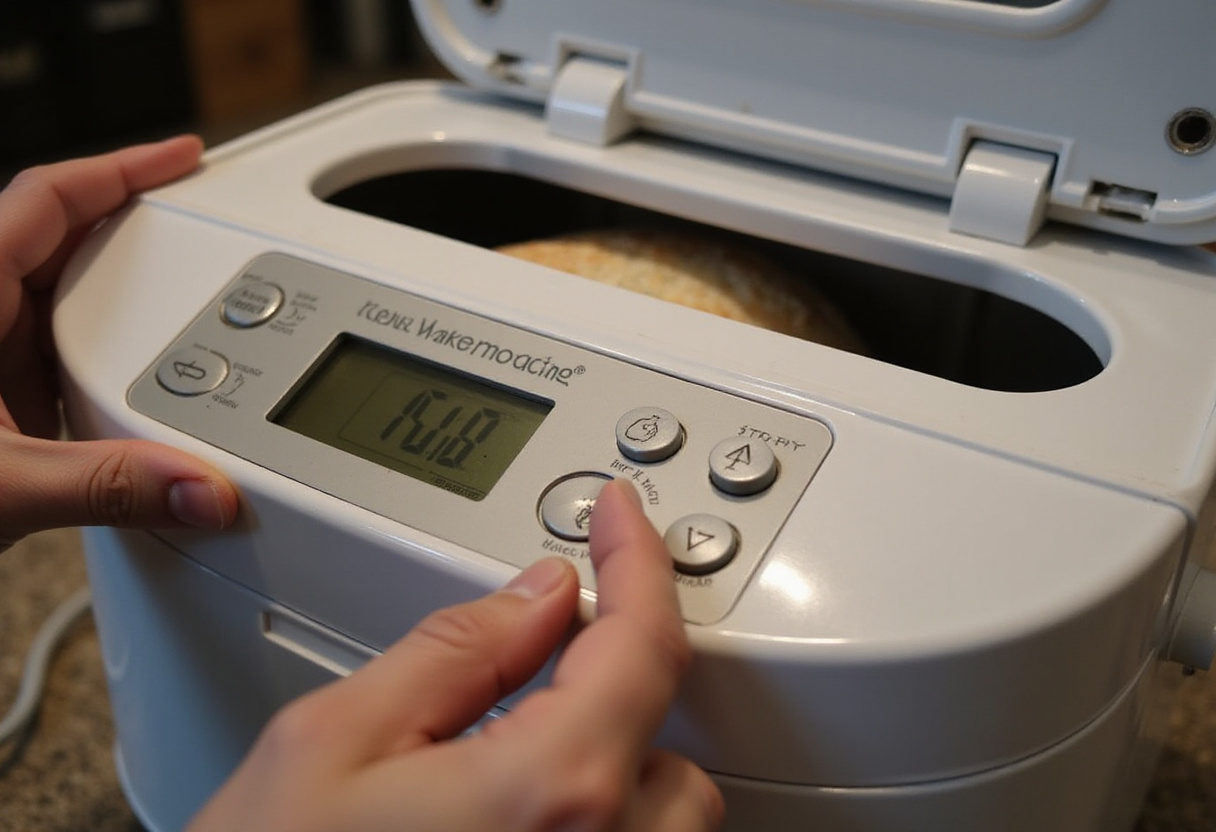
Step 3: Select the Program
Carefully close the lid of the bread machine and select the appropriate program setting. For this classic white bread recipe, you’ll typically want to choose the “Basic” or “White Bread” setting on your bread machine. In addition to selecting the program, you’ll also typically have the option to choose your desired crust color. Select your preferred crust color (light, medium, or dark). Consult your bread machine’s instruction manual for specific guidance on program settings and crust color options. Following the machine’s specific instructions is key to successfully executing easy bread machine recipes.
Step 4: Bake and Cool
Once you’ve prepared the machine and selected the appropriate settings, press the start button to begin the baking process. The bread machine will automatically handle the entire process of kneading the dough, allowing it to rise (proof), and baking the loaf. The total time will vary depending on your machine and the selected settings. Once the baking cycle is complete, carefully remove the bread pan from the machine using oven mitts, as it will be hot. Turn the pan upside down to gently release the loaf onto a wire rack. Allow the bread to cool completely on the wire rack before slicing and serving. This cooling period is essential for allowing the bread to set properly and preventing a gummy texture. Enjoy the delicious result of one of your very own homemade bread machine recipes! If you are planning a brunch, you can see our breakfast brunch good ideas!
6. Tips for Perfect Bread Machine Loaves
- Use fresh ingredients: Expired yeast is one of the most common causes of bread that doesn’t rise properly. Always check the expiration date of your yeast before using it. If you’re unsure about its freshness, you can test it by proofing it in a small amount of warm water with a pinch of sugar. If it doesn’t bubble and foam within a few minutes, it’s likely no longer viable.
- Measure accurately: Baking is a science, and precise measurements are crucial for achieving consistent results. Invest in a good set of measuring cups and spoons and use them accurately. Spoon flour into the measuring cup and level it off with a straight edge, rather than scooping it directly from the bag.
- Monitor the dough: While the bread machine automates most of the process, it’s still a good idea to check on the dough’s consistency during the kneading cycle. The dough should form a smooth, elastic ball that is slightly tacky to the touch. If the dough seems too dry and stiff, add a tablespoon of water at a time until it reaches the desired consistency. Conversely, if the dough is too wet and sticky, add a tablespoon of flour at a time.
- Cool completely: It can be tempting to slice into a warm loaf of bread straight from the bread machine, but it’s important to resist the urge and allow the bread to cool completely on a wire rack before slicing. This allows the bread to set properly, preventing a gummy texture and making it easier to slice.
7. Exploring Other Bread Machine Recipes
Once you’ve successfully mastered the basic white bread recipe and gained confidence in using your bread machine. Then you’re ready to venture out and explore the vast world of other exciting bread machine recipes. Expand your baking horizons by trying whole wheat bread for a nuttier, more nutritious loaf, or experiment with sourdough bread for a tangy flavor and chewy texture. And if you’re on the savory spectrum and need something, we can recommend the sheet pan sausage. You could even try sweet bread variations, such as cinnamon swirl bread or chocolate chip bread, for a delightful treat. Get creative with your loaves by experimenting with adding various mix-ins, such as nuts, seeds, dried fruits, herbs, or cheeses, to customize the flavor and texture to your liking. The possibilities are truly endless!
8. Troubleshooting Common Bread Machine Issues
- Bread doesn’t rise: This is one of the most frustrating bread machine problems. The most common reason is inactive yeast. Make sure your yeast is fresh and properly activated. Also, check that the water temperature is correct (lukewarm, not too hot or cold). Too much salt can also inhibit yeast activity, so ensure accurate measurement.
- Bread collapses: A collapsed loaf can be caused by too much liquid in the dough or too much yeast. Double-check your measurements and consider reducing the liquid or yeast slightly in your next attempt. High humidity can also contribute to this issue.
- Crust is too dark: If your bread crust is consistently too dark, even on the lightest crust setting, try reducing the baking time slightly. You can also try placing a piece of aluminum foil loosely over the top of the bread during the last 15-20 minutes of baking to prevent it from browning too quickly.
9. Conclusion
A bread machine is a truly fantastic tool for creating delicious, homemade loaves of bread with remarkable ease. By following this comprehensive guide to my go-to recipe book, you’ll have a solid foundation for achieving baking success. From mastering simple and easy bread machine recipes to boldly experimenting with more advanced and adventurous loaves, you’ll undoubtedly discover immense joy and deep satisfaction in the simple yet rewarding process of baking your own bread right in your own kitchen. So, preheat that machine and get ready for an incredible culinary experience. Happy baking, and don’t forget to visit Allrecipes for even more inspiration!
Print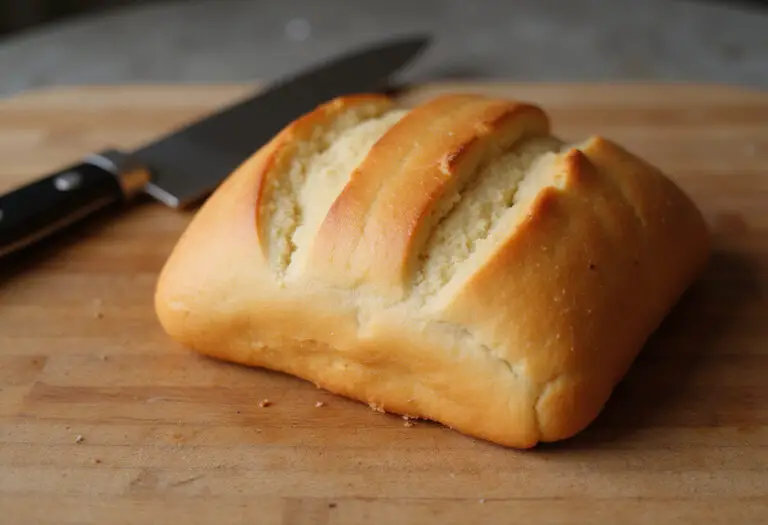
My Go-To Recipe for Amazing Bread Machine Recipe Book
My go-to bread machine recipe for classic white bread. This easy bread machine recipe book provides a simple and delicious way to enjoy fresh, homemade bread with minimal effort. Perfect for beginners and seasoned bakers alike!
- Total Time: 3 hours 5 minutes
- Yield: 1 large loaf 1x
Ingredients
- 300ml Lukewarm Water
- 2 tablespoons Vegetable Oil
- 1.5 teaspoons Salt
- 2 tablespoons Sugar
- 500g Bread Flour
- 2 teaspoons Instant Yeast
Instructions
- Ensure your bread machine is clean and the kneading paddle is properly installed.
- Add the ingredients in the following order: water, oil, salt, sugar, flour, and yeast.
- Close the lid and select the “Basic” or “White Bread” setting on your bread machine. Choose your desired crust color.
- Press start. The bread machine will handle the kneading, rising, and baking. Once done, remove the bread and let it cool completely before slicing.
Notes
- Use fresh ingredients: Expired yeast can ruin your loaf.
- Measure accurately: Precision is crucial for consistent results.
- Monitor the dough: If the dough seems too dry, add a tablespoon of water at a time. If it’s too wet, add flour.
- Cool completely: Allow the bread to cool before slicing to prevent a gummy texture.
- Prep Time: 5 minutes
- Cook Time: 3 hours
- Category: Bread
- Method: Bread Machine
- Cuisine: American
- Diet: Vegetarian
Nutrition
- Serving Size: 1 slice (approx. 28g)
- Calories: 75 Kcal
- Sugar: 2g
- Sodium: 120mg
- Fat: 1.5g
- Saturated Fat: 0.2g
- Unsaturated Fat: 1.3g
- Trans Fat: 0g
- Carbohydrates: 14g
- Fiber: 0.5g
- Protein: 2g
- Cholesterol: 0mg