Skip to content
superdailyrecipes.com
Menu
About
Contact
Work With Me
Home
About
Breakfast & Brunch
Dinner
Baking
Contact
Home
About
Breakfast & Brunch
Dinner
Baking
Contact
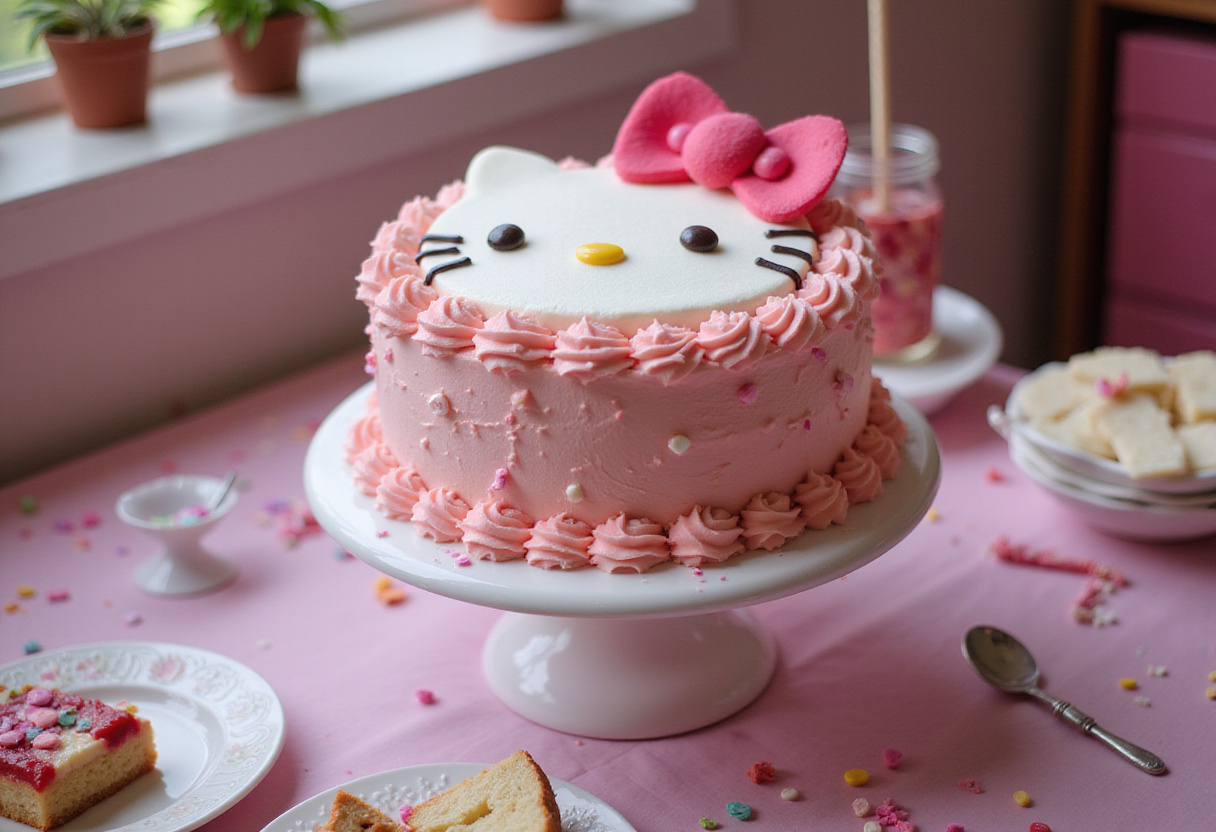
My Go-To Recipe for Amazing Hello Kitty Cake
My Go-To Recipe for Amazing Hello Kitty Cake