Vintage Cake Recipe: A Timeless Classic for Every Celebration 🎂🕰️🌹
1. Introduction
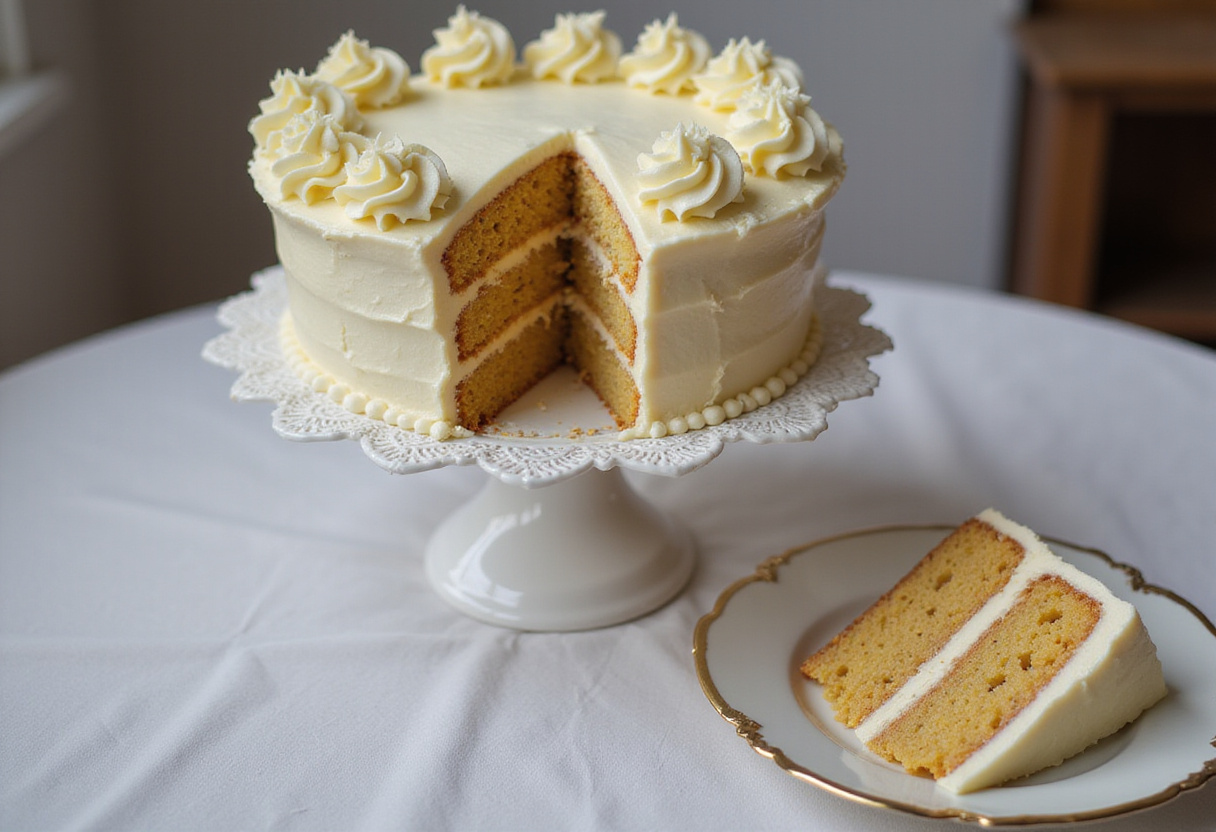
Step back in time with this delightful vintage cake recipe, a true classic that brings warmth and nostalgia to any occasion. This old-fashioned cake, celebrated for its simple elegance and comforting flavors, is perfect whether you’re marking a special event or simply craving a sweet treat. Our guide provides all you need to recreate this timeless dessert, ensuring your retro cake turns out moist, flavorful, and absolutely unforgettable. Thinking of other delightful treats? Why not explore our wide array of dessert recipes afterwards? This classic cake recipe will become a cherished part of your baking repertoire, offering a taste of history with every slice. If you’re seeking more baking adventures, delve into our comprehensive baking recipe collection for inspiration.
2. History of Vintage Cakes
Vintage cake recipes are more than just instructions; they’re culinary artifacts that tell a story of bygone eras. These old-fashioned cakes often feature simple ingredients and techniques passed down through generations. Baking a retro cake connects you to the past, allowing you to experience flavors that have stood the test of time. Each recipe carries whispers of family gatherings, celebrations, and the evolution of baking itself. The charm of a classic cake recipe lies in its ability to evoke memories and create new ones, making every bite a journey through history. If you’re interested in learning more about our team, you can read more about us HERE!
3. Key Ingredients for a Perfect Vintage Cake
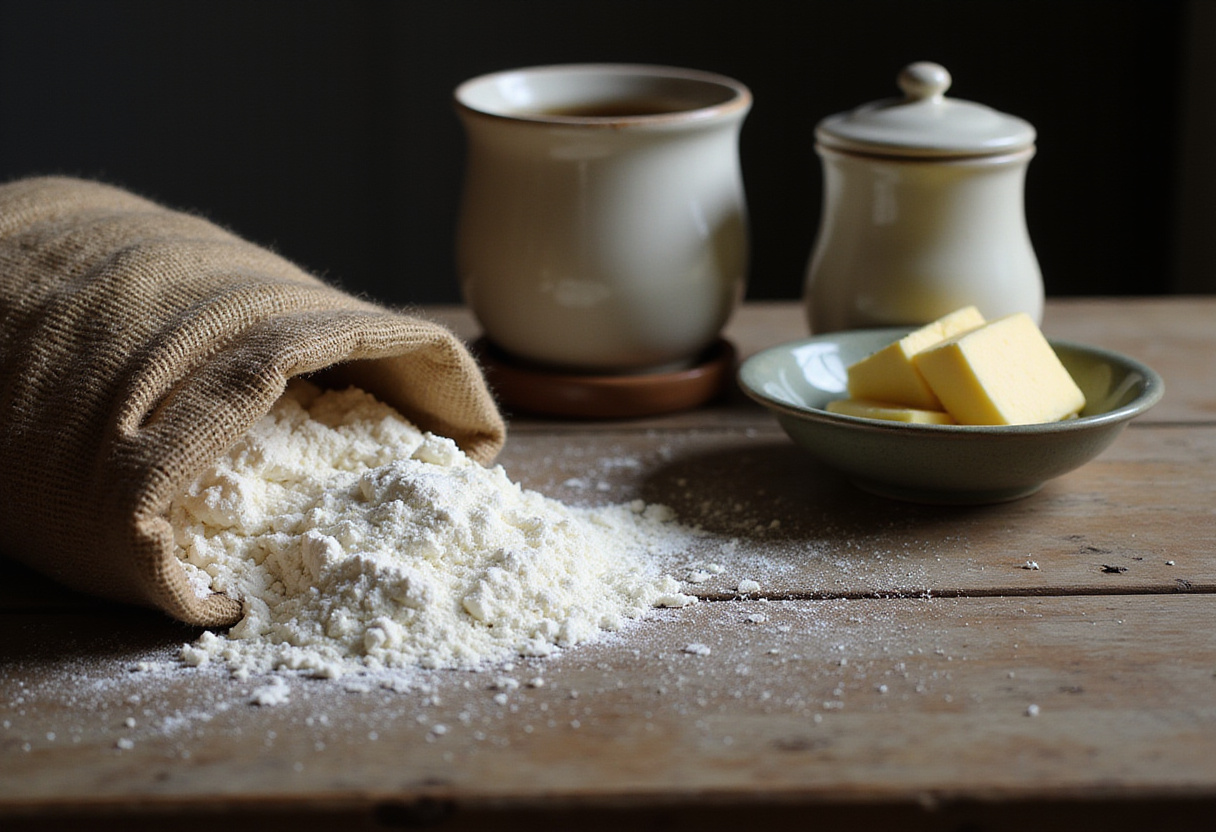
To ensure your vintage cake captures the essence of tradition, using high-quality ingredients is crucial. Fresh, well-sourced components can elevate your baking experience, resulting in a richer and more authentic flavor profile. Here’s what you’ll need for this old-fashioned cake:
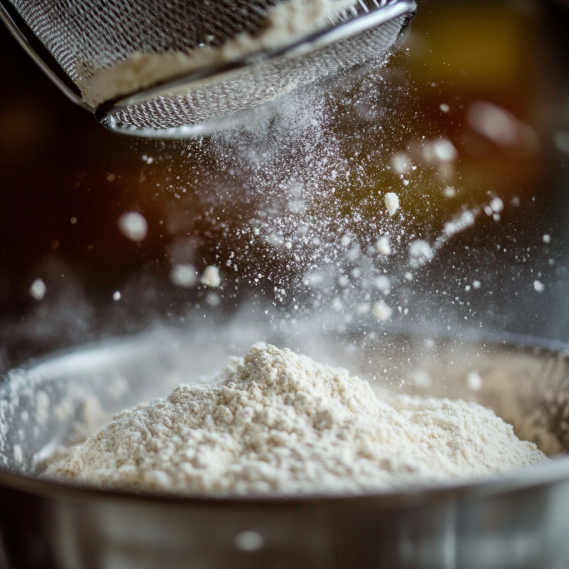
- All-purpose flour: Provides the cake’s structure. Sifted flour ensures a lighter, airier texture.
- Granulated sugar: Adds sweetness and moisture. Consider using caster sugar for an even finer crumb.
- Butter: Contributes to the cake’s rich flavor and tender crumb. Unsalted butter allows you to control the salt level precisely.
- Eggs: Bind the ingredients and add richness. Free-range eggs often provide a more vibrant color and richer taste.
- Milk: Keeps the cake moist. Whole milk adds extra creaminess, but you can also use buttermilk for a tangy twist.
- Vanilla extract: Enhances the overall flavor of this retro cake. Opt for pure vanilla extract for the best flavor.
- Baking powder: Helps the cake rise to perfection. Ensure your baking powder is fresh for optimal results.
- Salt: Balances the sweetness. A pinch of sea salt can enhance the other flavors in the cake.
4. Step-by-Step Instructions to Bake Your Vintage Cake
Step 1: Creaming Butter and Sugar
In a large bowl, cream together softened butter and granulated sugar until light and fluffy. This step is crucial for incorporating air into the batter, resulting in a tender vintage cake. Ensure the butter is at room temperature for the best results when making this old-fashioned cake. Use an electric mixer for ease, but be careful not to over-cream, as this can lead to a dense cake. The mixture should be pale and almost doubled in volume.
Step 2: Incorporating Dry and Wet Ingredients
In a separate bowl, whisk together flour, baking powder, and salt. Gradually add the dry ingredients to the creamed mixture, alternating with milk, beginning and ending with the dry ingredients. Mix until just combined. Be careful not to overmix, as this can lead to a tough retro cake. This technique ensures a smooth, even batter for your classic cake recipe. Overmixing develops gluten, resulting in a less tender cake. Mix until the dry ingredients are *just* incorporated.
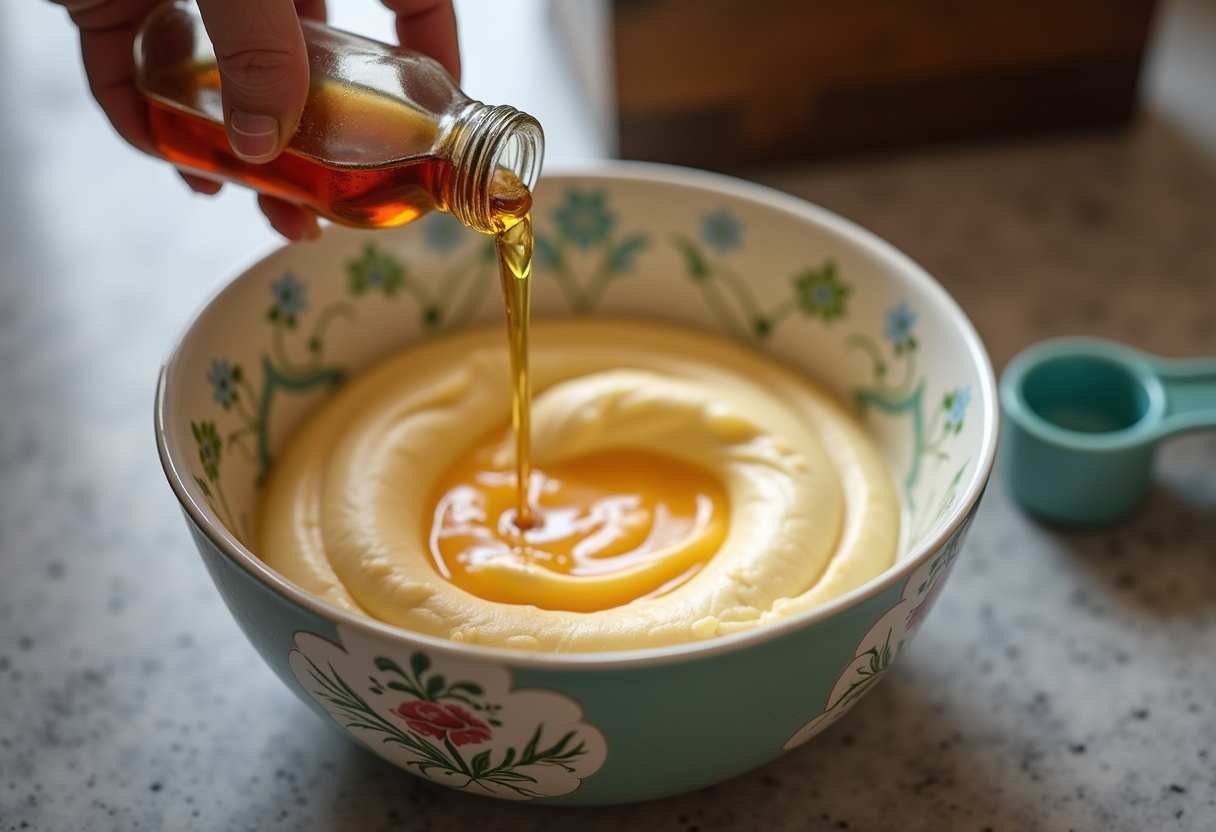
Step 3: Adding Flavor and Preparing for Baking
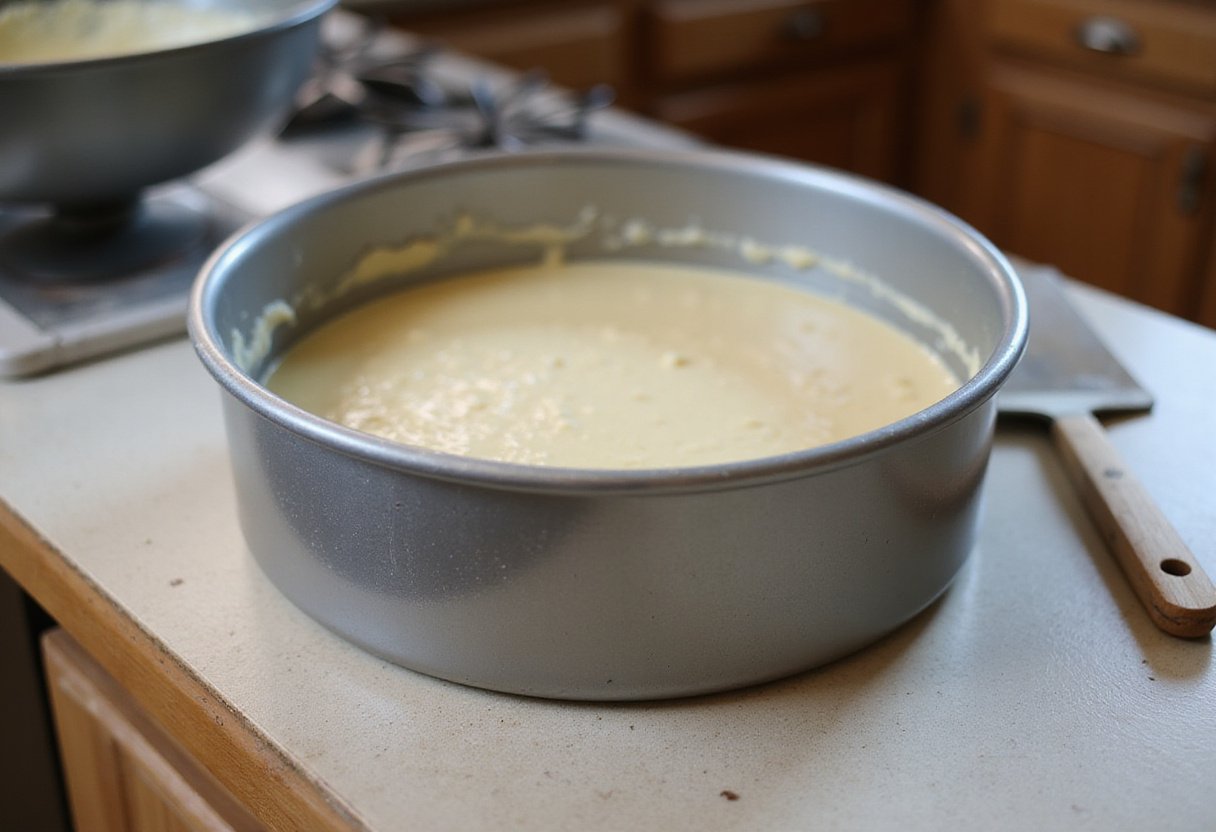
Stir in the vanilla extract to enhance the flavor of your vintage cake. Pour the batter into a greased and floured cake pan, spreading it evenly. This ensures that your old-fashioned cake bakes uniformly and releases easily. The vanilla adds a nostalgic aroma and taste to this classic cake recipe. For extra insurance against sticking, line the bottom of the pan with parchment paper.
Step 4: Baking to Golden Perfection
Bake in a preheated oven until a wooden skewer inserted into the center comes out clean. Let the cake cool in the pan for a few minutes before inverting it onto a wire rack to cool completely. This careful baking process ensures your retro cake is perfectly golden and moist. This is the final step to achieving a perfect vintage cake recipe. If the top of the cake starts to brown too quickly, tent it loosely with foil. Be sure to check out this website for other vintage cakes : More Vintage Cakes
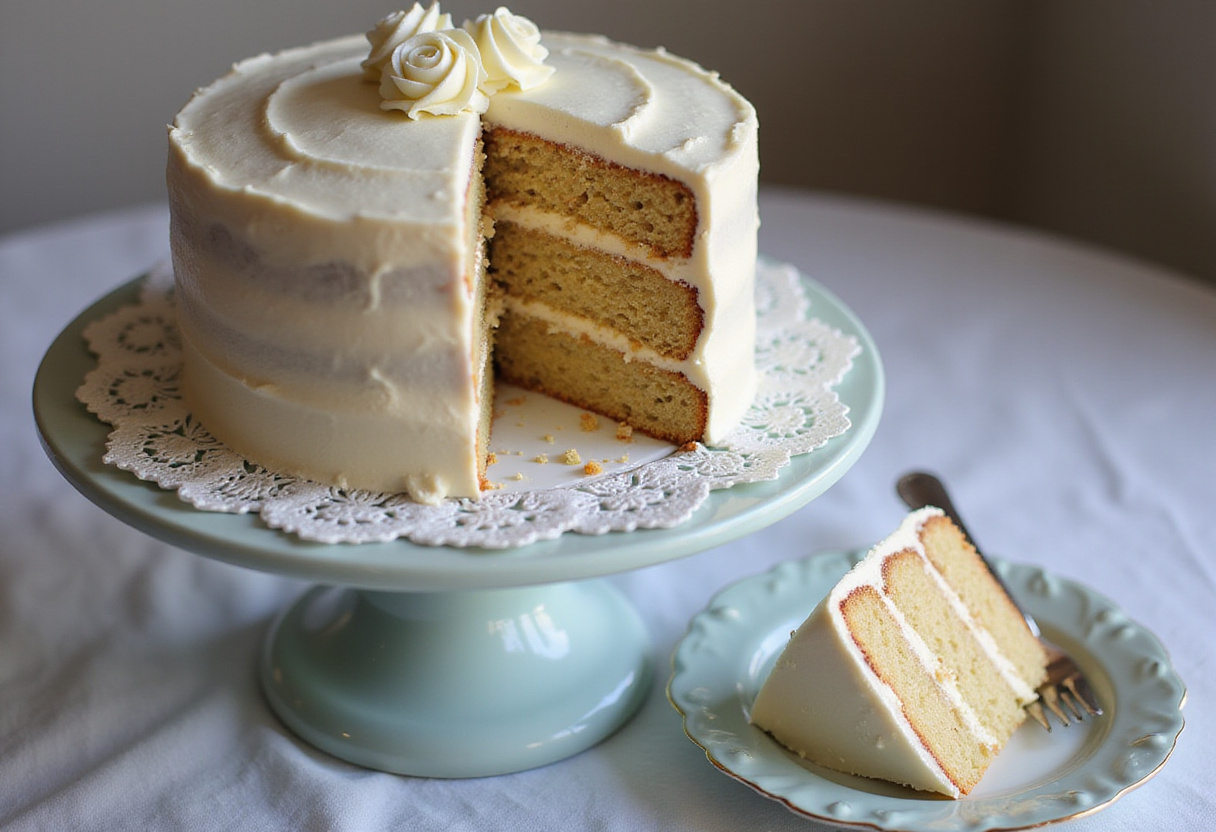
5. Frosting Ideas for Your Vintage Cake
No vintage cake is complete without a luscious frosting. Here are some ideas to complement your old-fashioned cake:
- Buttercream Frosting: A classic choice that’s creamy, sweet, and easy to customize. Consider adding a touch of lemon or vanilla extract for extra flavor.
- Cream Cheese Frosting: Adds a tangy twist to the sweetness of the cake. Perfect with a hint of cinnamon or nutmeg.
- Chocolate Ganache: For a decadent and rich finish. Use high-quality chocolate for the best flavor.
- Seven-Minute Frosting: A light and airy option that’s perfect for a retro cake. This frosting is made by whipping egg whites and sugar over heat.
6. Tips for Achieving the Best Vintage Cake Texture
To bake the perfect vintage cake, follow these tips:
- Use room temperature ingredients for better emulsion. This helps the ingredients combine more evenly, resulting in a smoother batter.
- Measure ingredients accurately for consistent results. Baking is a science, so precision is key.
- Don’t overmix the batter to prevent a tough cake. Overmixing develops gluten, leading to a less tender texture.
- Cool the cake completely before frosting to avoid melting. This ensures that the frosting adheres properly and doesn’t slide off.
7. Variations on the Classic Vintage Cake Recipe
While the classic vintage cake recipe is delightful on its own, feel free to experiment with variations:
- Add citrus zest for a burst of freshness. Lemon, orange, or even grapefruit zest can add a bright, zesty flavor.
- Incorporate nuts or dried fruits for added texture and flavor. Walnuts, pecans, raisins, or cranberries are all excellent choices.
- Use different extracts, like almond or lemon, to change the flavor profile of this retro cake. A few drops of extract can make a big difference.
8. Serving and Storing Your Vintage Cake
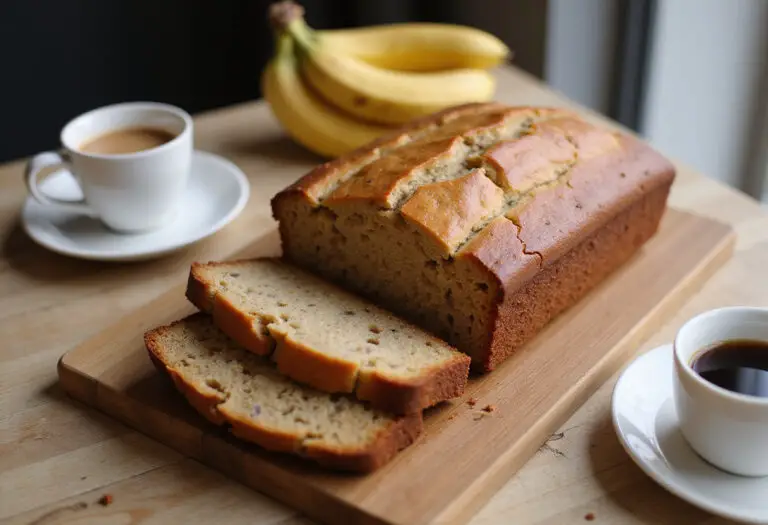
Serve your vintage cake with a cup of tea or coffee for a delightful treat. A dollop of whipped cream or a scoop of ice cream also complements the cake beautifully. Store leftovers in an airtight container at room temperature for up to three days, or in the refrigerator for up to a week. This old-fashioned cake is best enjoyed fresh, but it remains delicious even after a few days.
9. Conclusion
Baking a vintage cake is a wonderful way to connect with culinary history and create a delicious treat that everyone will love. From the simple ingredients to the time-honored techniques, this classic cake recipe is sure to become a favorite. As you master the vintage cake recipe, consider exploring other delightful recipes on our site. Whether it’s a hearty dinner, a refreshing salad, or a comforting soup, we have something for every palate. Enjoy the process of making this old-fashioned cake and sharing it with friends and family. If you’re interested in colabrating, feel free to contact us Happy baking!
Print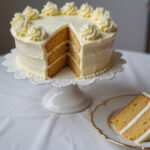
vintage cake
- Total Time: 50 minutes
- Yield: 10 servings
- Diet: Vegetarian
Description
Step back in time with this delightful vintage cake recipe, a true classic that brings warmth and nostalgia to any occasion. This old-fashioned cake is perfect for any celebration. Our guide provides all you need to recreate this timeless dessert, ensuring your retro cake turns out moist, flavorful, and absolutely unforgettable.
Ingredients
- All-purpose flour
- Granulated sugar
- Butter
- Eggs
- Milk
- Vanilla extract
- Baking powder
- Salt
Instructions
- Cream together softened butter and granulated sugar until light and fluffy.
- In a separate bowl, whisk together flour, baking powder, and salt.
- Gradually add the dry ingredients to the creamed mixture, alternating with milk, beginning and ending with the dry ingredients. Mix until just combined. Be careful not to overmix.
- Stir in the vanilla extract.
- Pour the batter into a greased and floured cake pan, spreading it evenly.
- Bake in a preheated oven until a wooden skewer inserted into the center comes out clean.
- Let the cake cool in the pan for a few minutes before inverting it onto a wire rack to cool completely.
- Frost with your favorite frosting.
Notes
- Use room temperature ingredients for better emulsion.
- Measure ingredients accurately for consistent results.
- Don’t overmix the batter to prevent a tough cake.
- Cool the cake completely before frosting to avoid melting.
- Add citrus zest for a burst of freshness.
- Incorporate nuts or dried fruits for added texture and flavor.
- Use different extracts, like almond or lemon, to change the flavor profile.
- Prep Time: 20 minutes
- Cook Time: 30 minutes
- Category: Dessert
- Method: Baking
- Cuisine: American
Nutrition
- Serving Size: 1 slice
- Calories: 350 Kcal
- Sugar: 30g
- Sodium: 200mg
- Fat: 15g
- Saturated Fat: 9g
- Unsaturated Fat: 5g
- Trans Fat: 0.5g
- Carbohydrates: 50g
- Fiber: 1g
- Protein: 4g
- Cholesterol: 75mg
Keywords: vintage cake, old-fashioned cake, retro cake, classic cake recipe, baking, dessert, homemade cake, cake recipe